Your Cart is Empty
How to Iron On Patches. Follow These Steps and Enjoy Your New Goodies
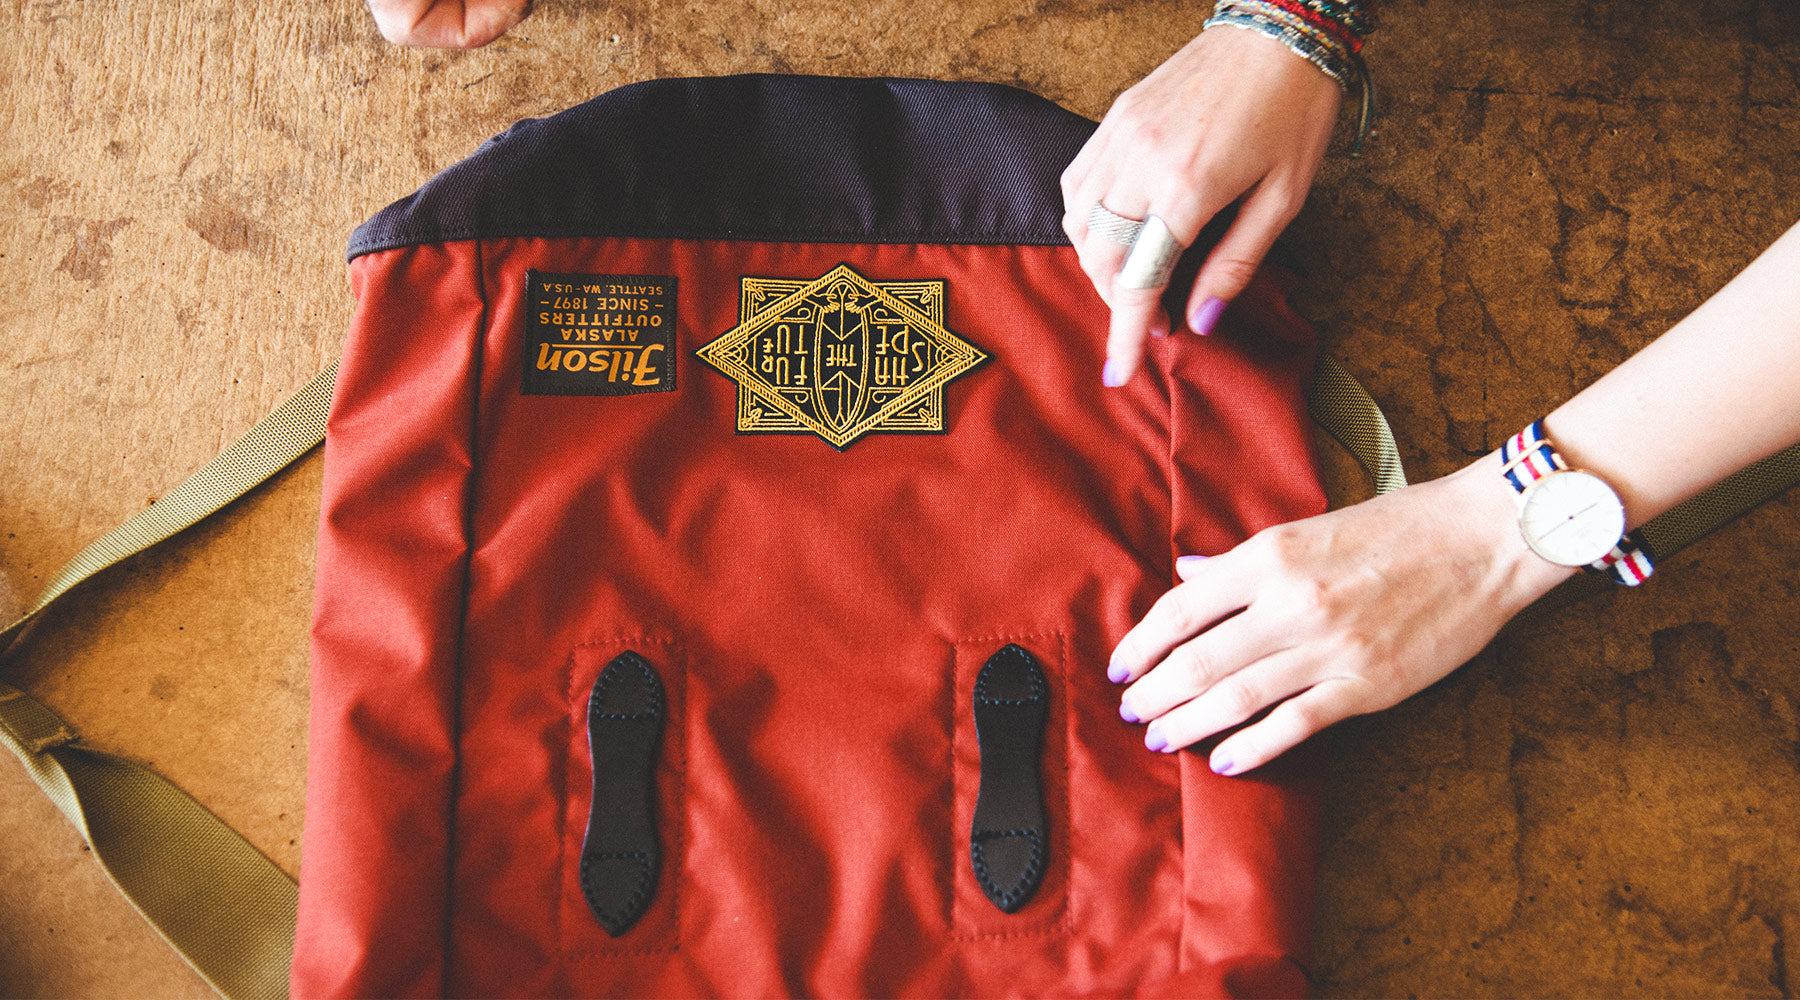
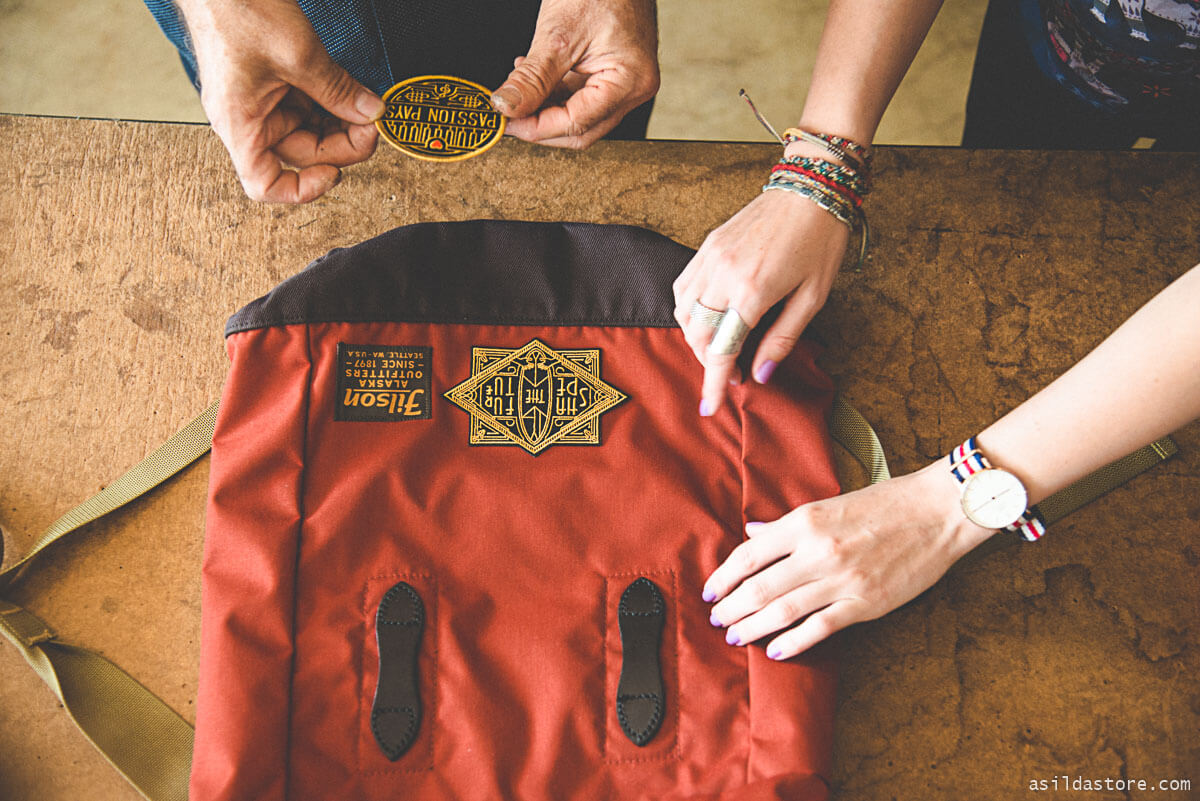
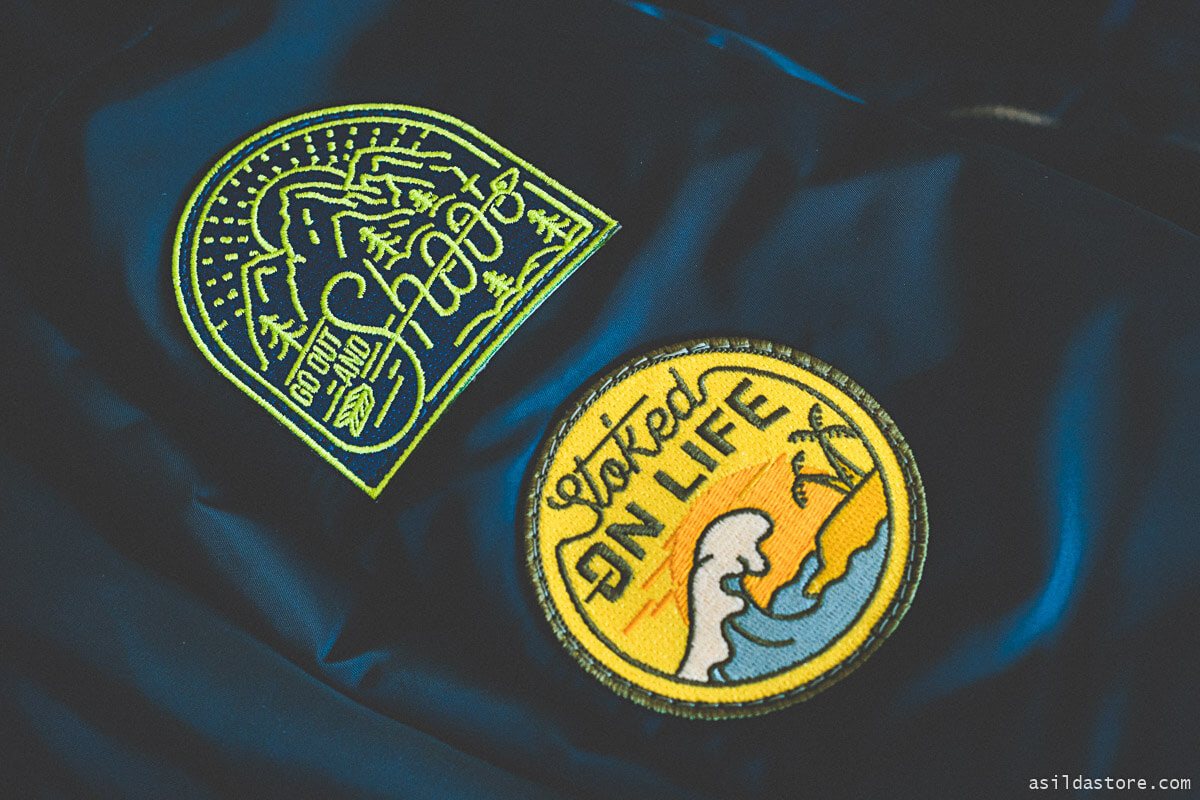
When you receive your Asilda Store patches, all of which have iron on backing, there are different ways you can attach them to your jackets or bags. It's been a common question of how to iron on patches or sew them to different materials, so is all you need to know.
Depending on the material you want to put the patch on, there are three options:
- Iron On
- Glue
- Sewing
You can also use a combination of these for maximum security. Let's take a quick look at the steps of the process.
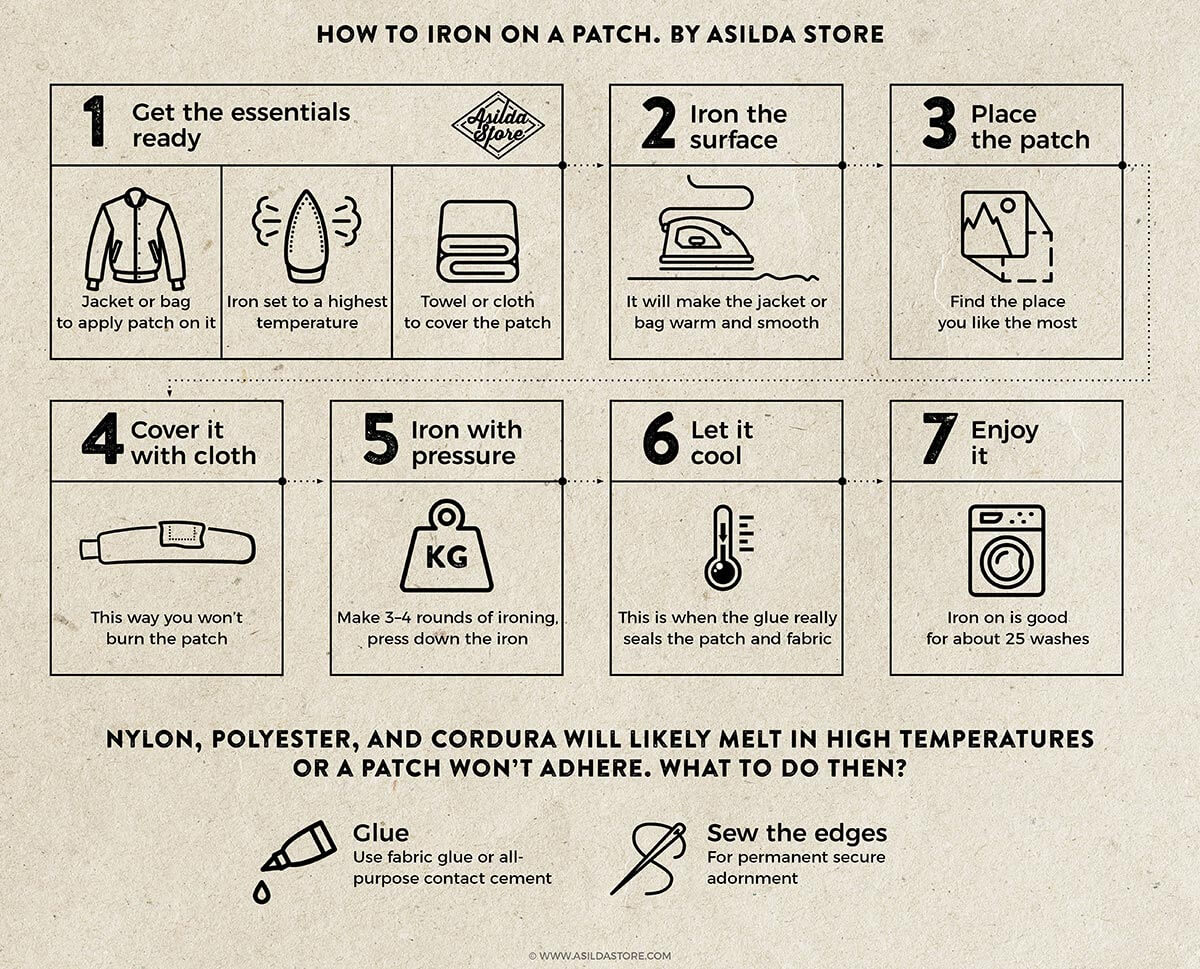
Iron-on is great for quick application. For that, all you need is an iron and a towel or a cloth. Turn the iron to the highest temperature setting and then iron the side of the bag/jacket to make sure it's warm, then place the patch where you want to attach it and over a cloth or a towel (so you don't burn the patch) make a few rounds of ironing the patch on.
Ironed on patches usually stays on for about 25 washes. Which is more than enough for most jackets and bags, but for permanent application, you need to sew on your favorite Asilda Store patch.
You can take your bags and jackets to local dry cleaner, but they may or may not do a great job. I had it both ways and for one patch I got stitching going through almost the middle of the patch, which looked really bad.
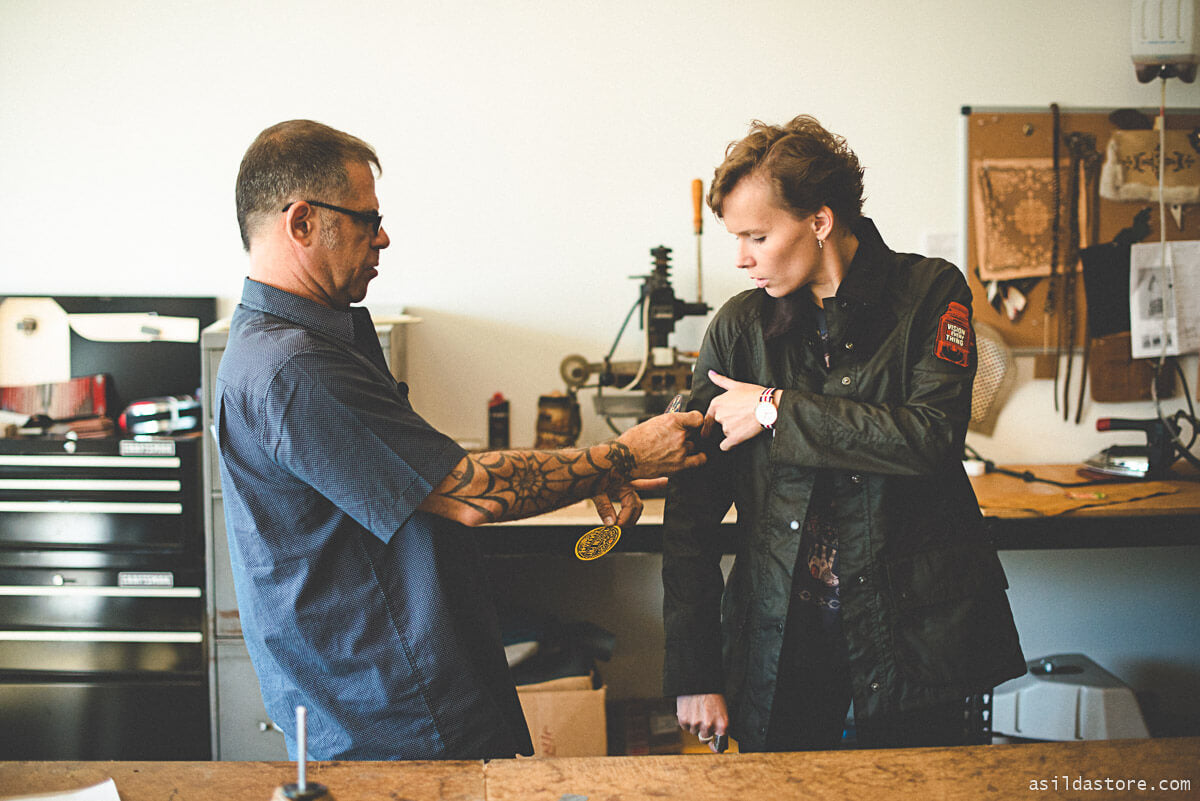
Most of my jackets and bags really mean a lot to me, so I searched and searched for the best place to get the job done and put my patches on them.
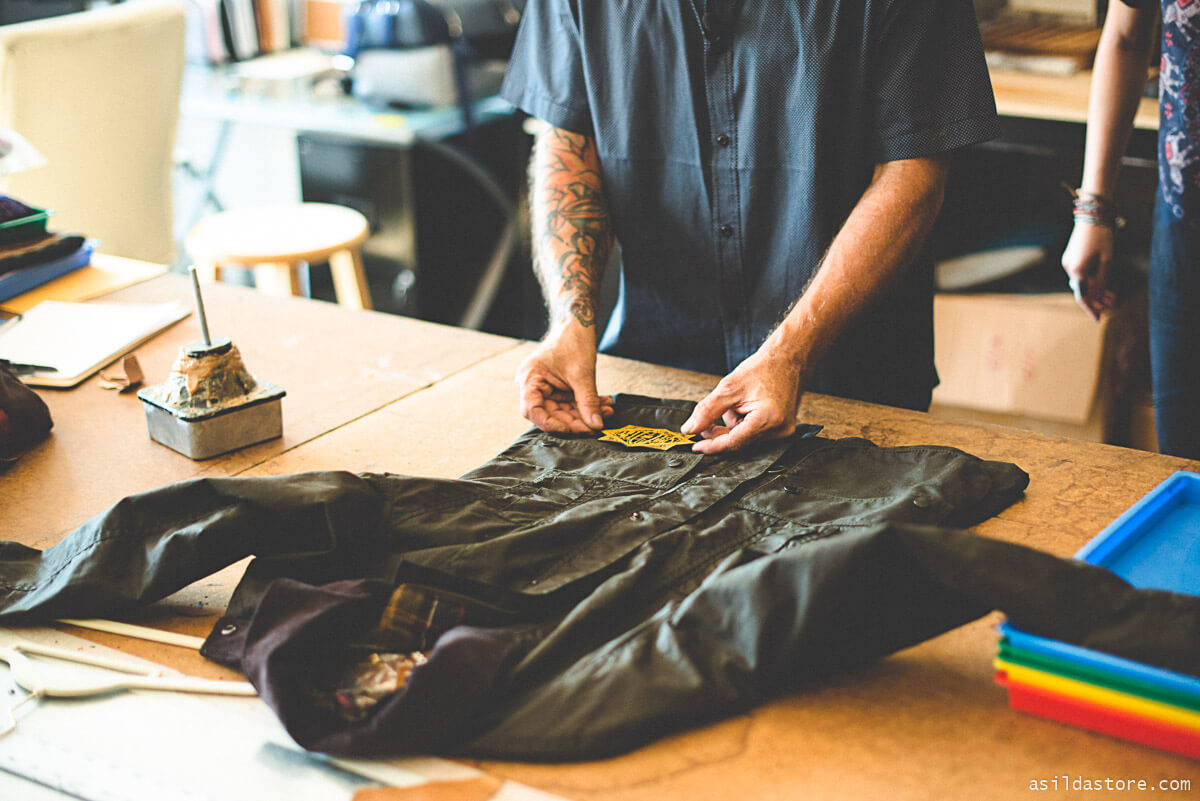
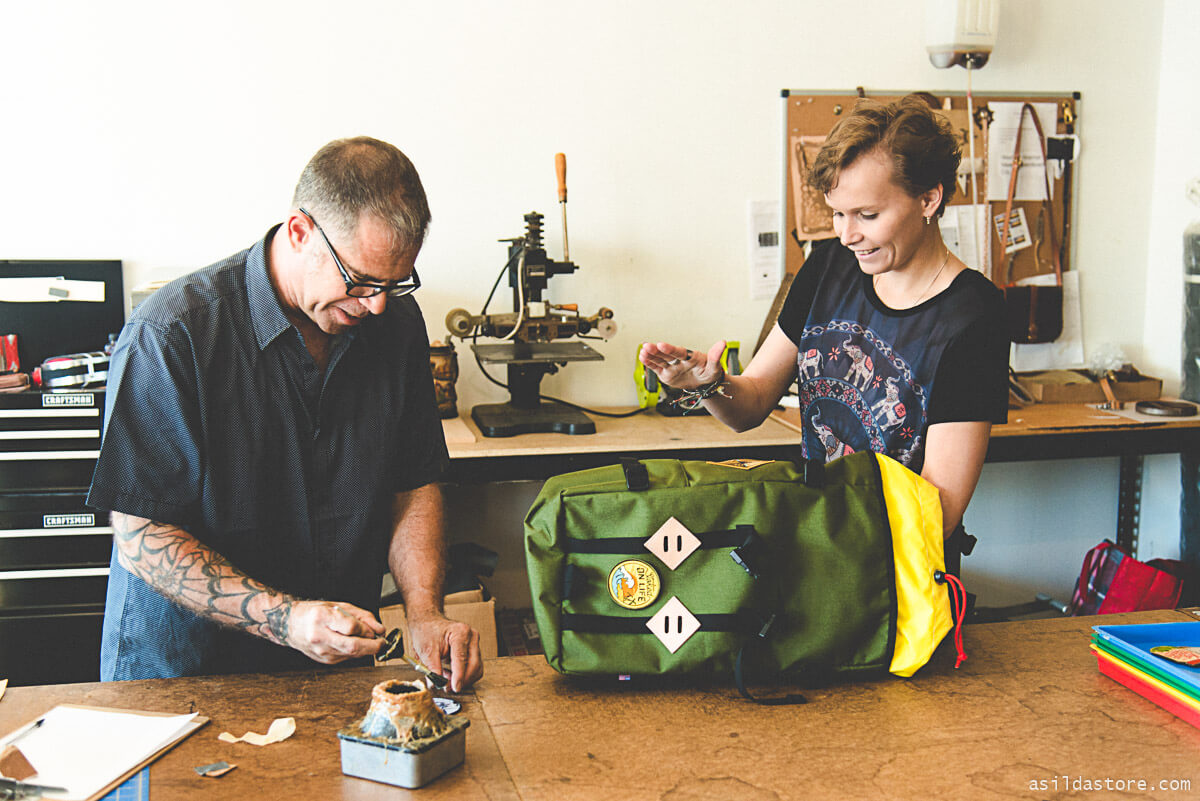
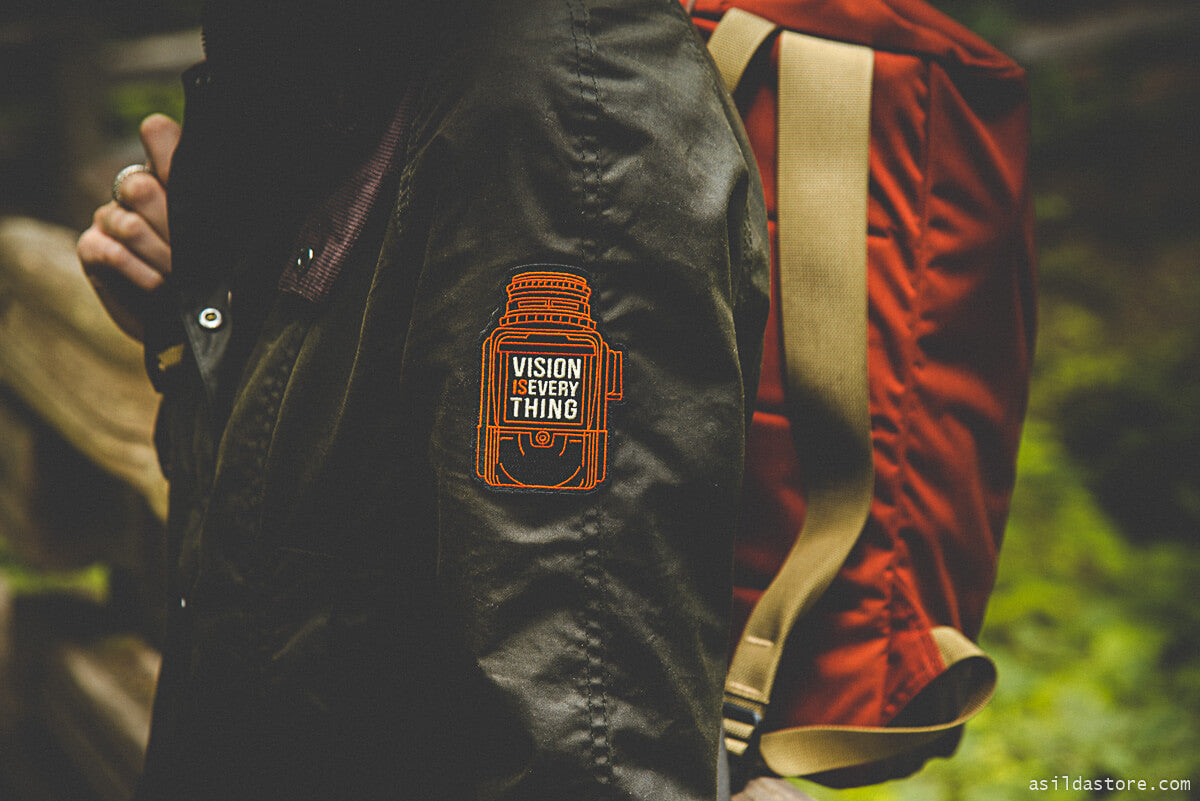
I got in touch with Chris from 10 West Leather Works and made a trip to his downtown LA location to get everything done. I brought a few bags and jackets for some of my favorite brands: Topo Designs, Schott NYC, Barbour, Filson, and Levi’s. I'm mentioning these brand because I really like them and I enjoy buying from these brands, most of which are 100+ years old, knowing that I'll wear and keep these bags and jackets for many years to come.
If you think all this is a bit complicated to follow, take a look at this 4 minute video recap of the process.
Let's move on to options #2 & #3: Gluing + Sewing
Together (glue and sewing around the edges), this combo provides the maximum security and longevity for your apparel and patches.
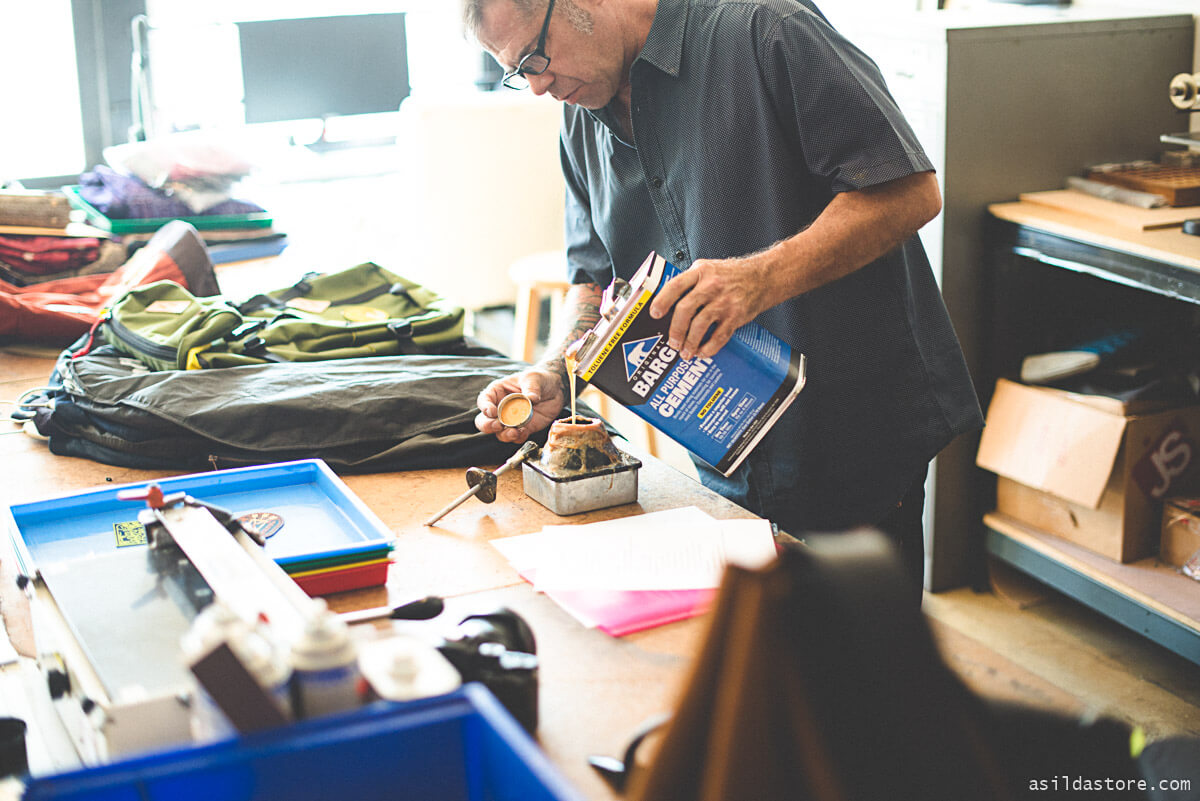
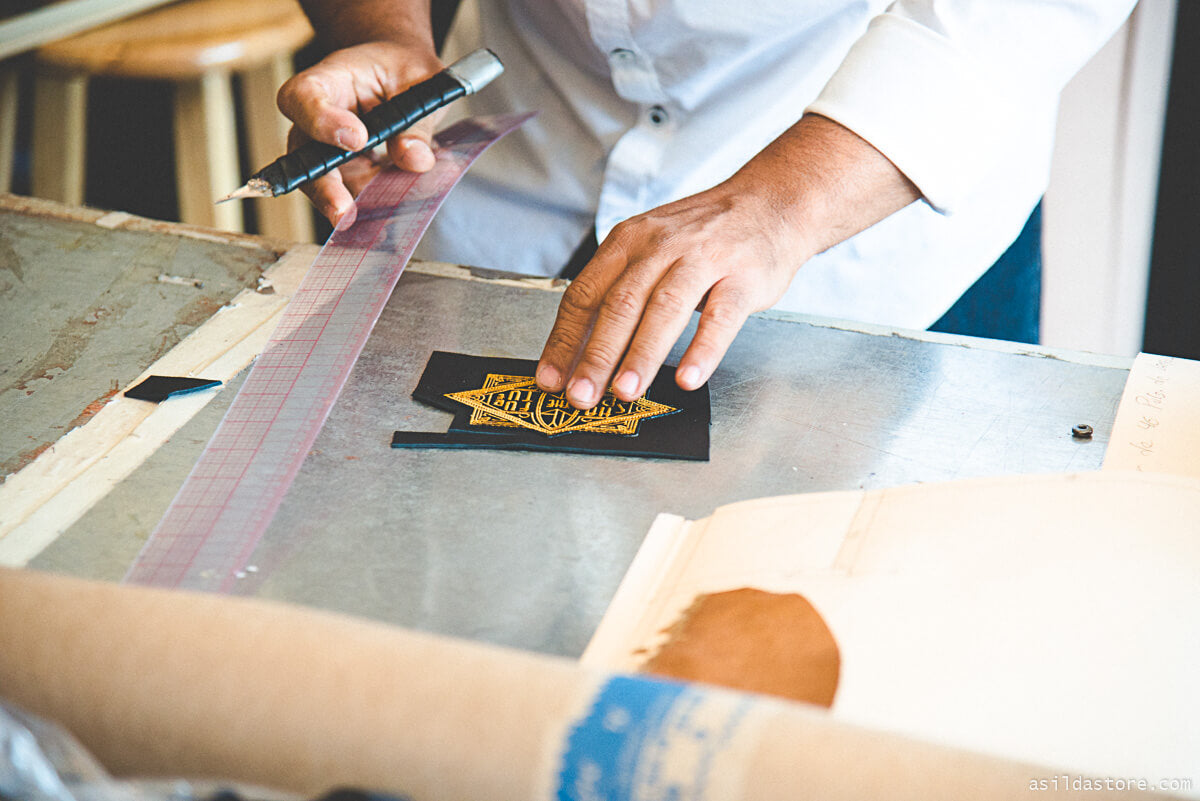
The first step is to apply the glue to keep patches in place on bags and jackets before sewing. The glue is just a multi-purpose contact cement, you can buy it on Amazon, eBay, Home Depot, Lowe’s, and any other similar store. Glue is best used for securing the patch in place before sewing. I only used just glue once and it worked fine, but didn’t give me a complete peace of mind.
For any fiber, nylon, any kind of synthetic material or which texture does not support iron-on method, glue is a necessary step in most cases. Same goes for heavily waxed canvas, like Filson, Barbour, Ona Bags, and Belstaff. The heat from iron can damage the surface of your bag or jacket and that is the last thing you want to do.
Give the glue 5-10 minutes to lock in place and after that you can start sewing.
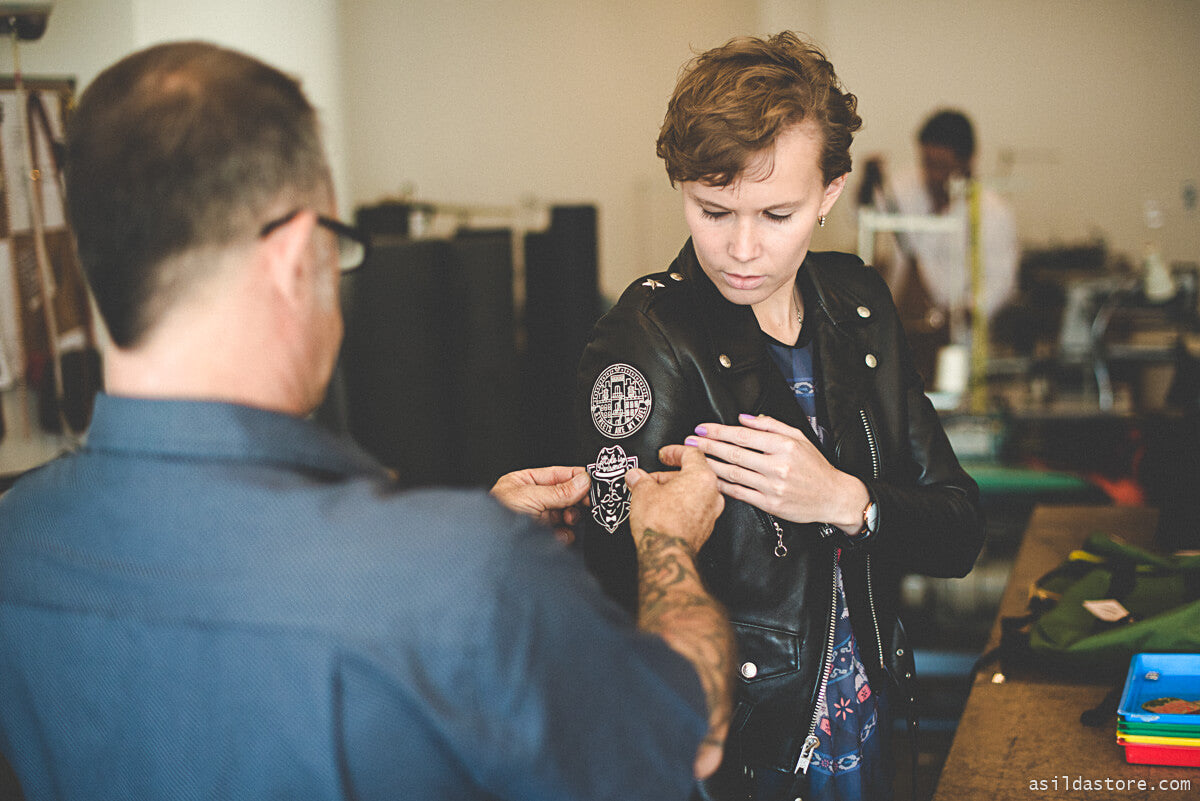
I also saw some customer photos where patches had some cool creative stitching on the jackets, there really is no rule saying you can only do one thing with patches.
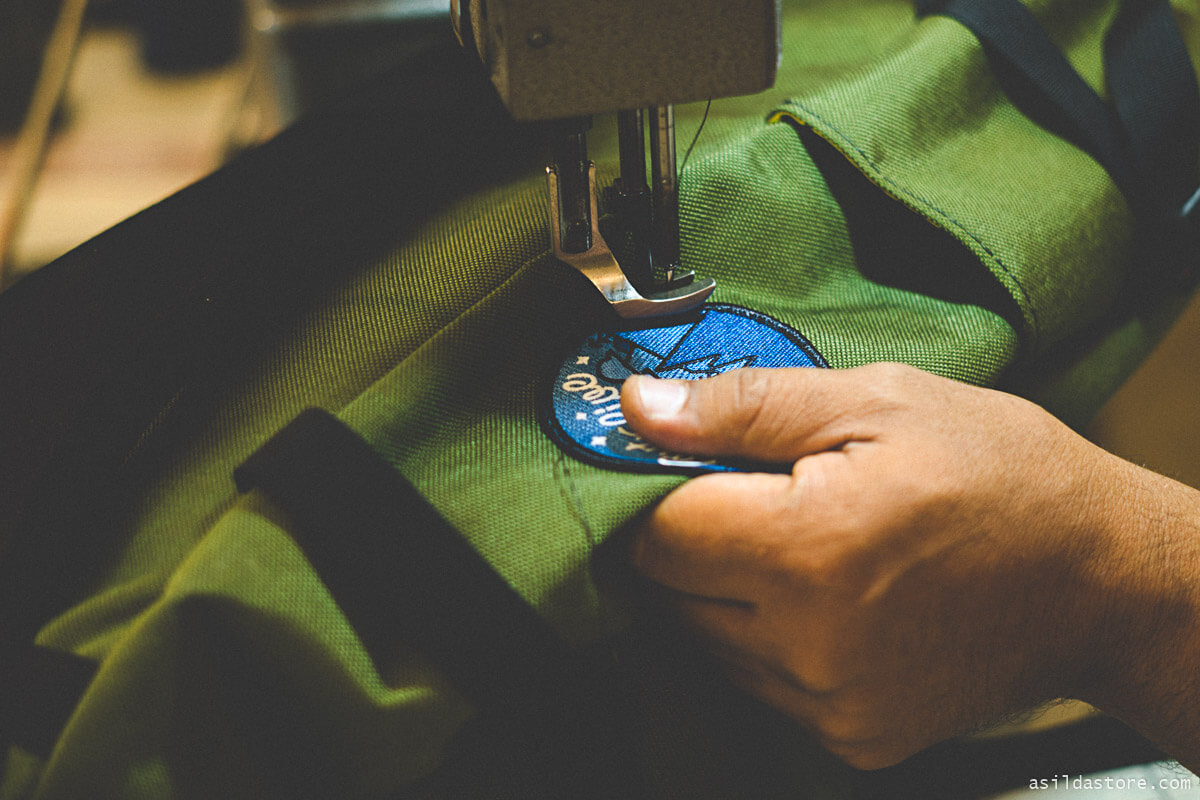
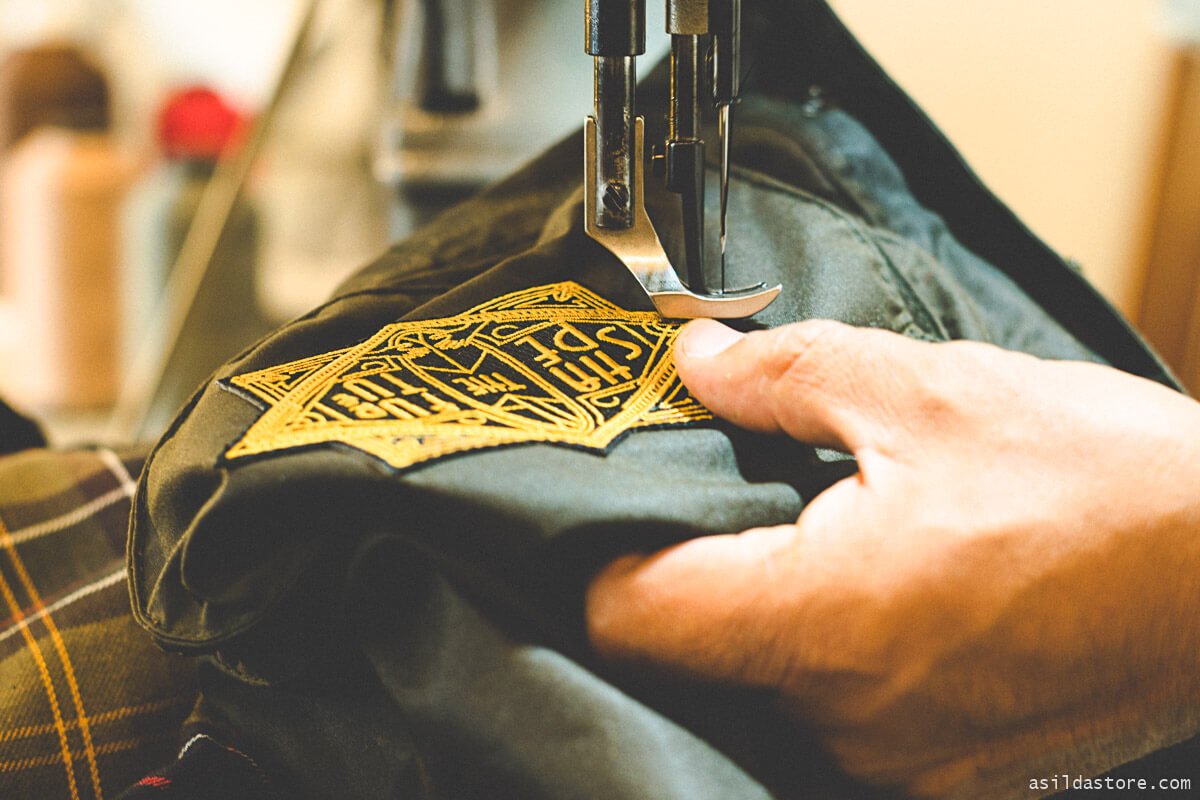
We did stitching on both merrowed edges and inside the patches as well. I personally like sewing on the merrowed edges, but it really is just a personal preference. Same goes for the thread color, you can be as creative as you want. We basically just matched thread colors to the edges of the patch as much as we could.
The whole process took a few hours as we were also filming everything. Chris and Louis were doing a great job and all of their moves were confident and perfectly executed. Normally you can expect to spend 20 min on a patch. Just to give you a ballpark number.
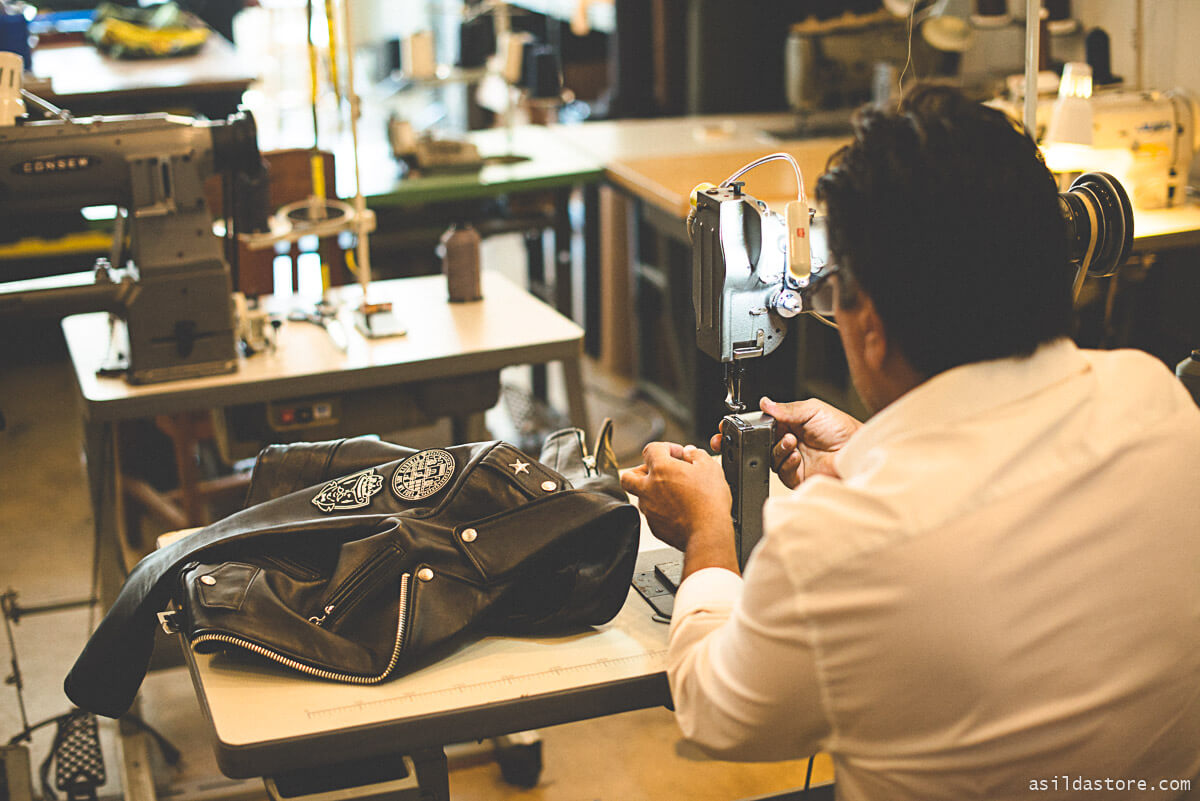
Chris had many sewing machines, but the one we chose for the job had the best access for sleeves, so we decided to do most of the work on it. It had the main part raised so you could literally slide anything in. It also was great for leather, which is generally thicker than everything else. It’s a bit more complicated to sew patches on with regular sewing machines sold these days. In total, we used three sewing machines and had 17 patches to sew.
We put everything on and had a problem with waxed canvas. Glue wouldn’tstick on it and so it was the most difficult item to sew patches.
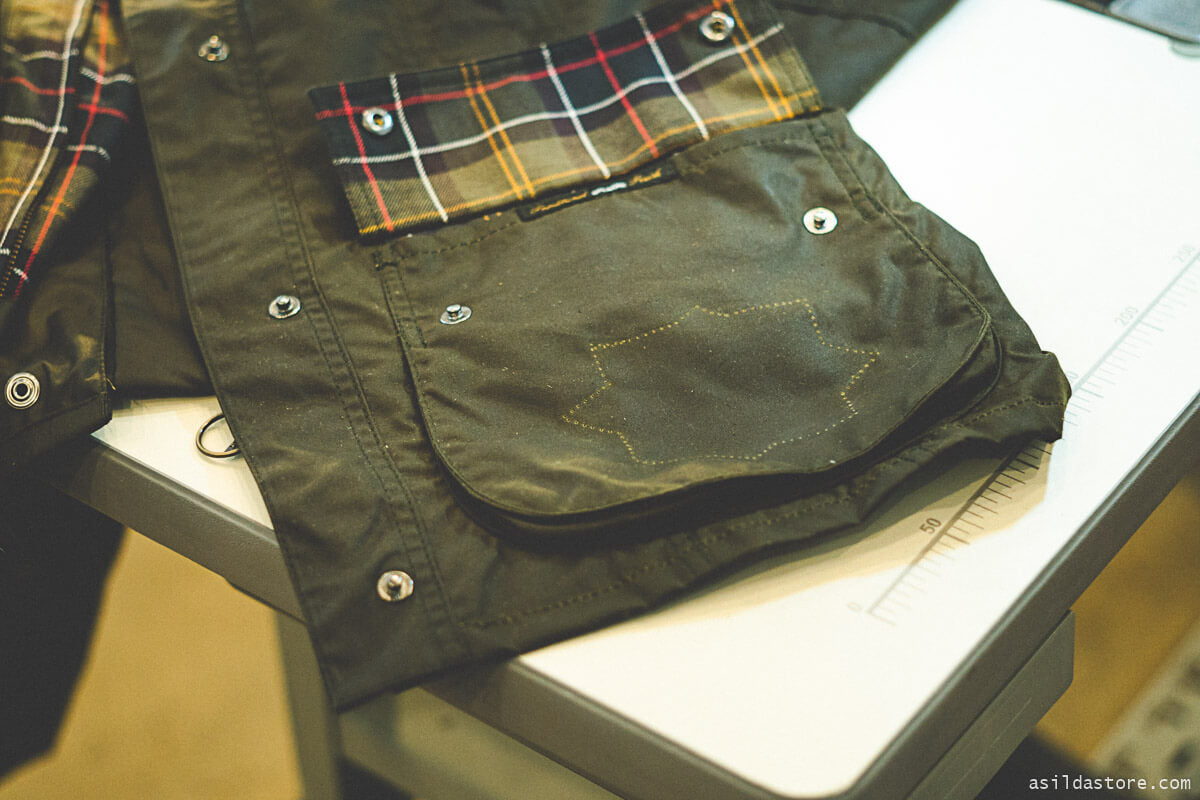
This last patch we placed on the front pocket got a bit misplaced and so we removed it and found a bunch of holes that would be visible when we adjust and center the patch correctly.
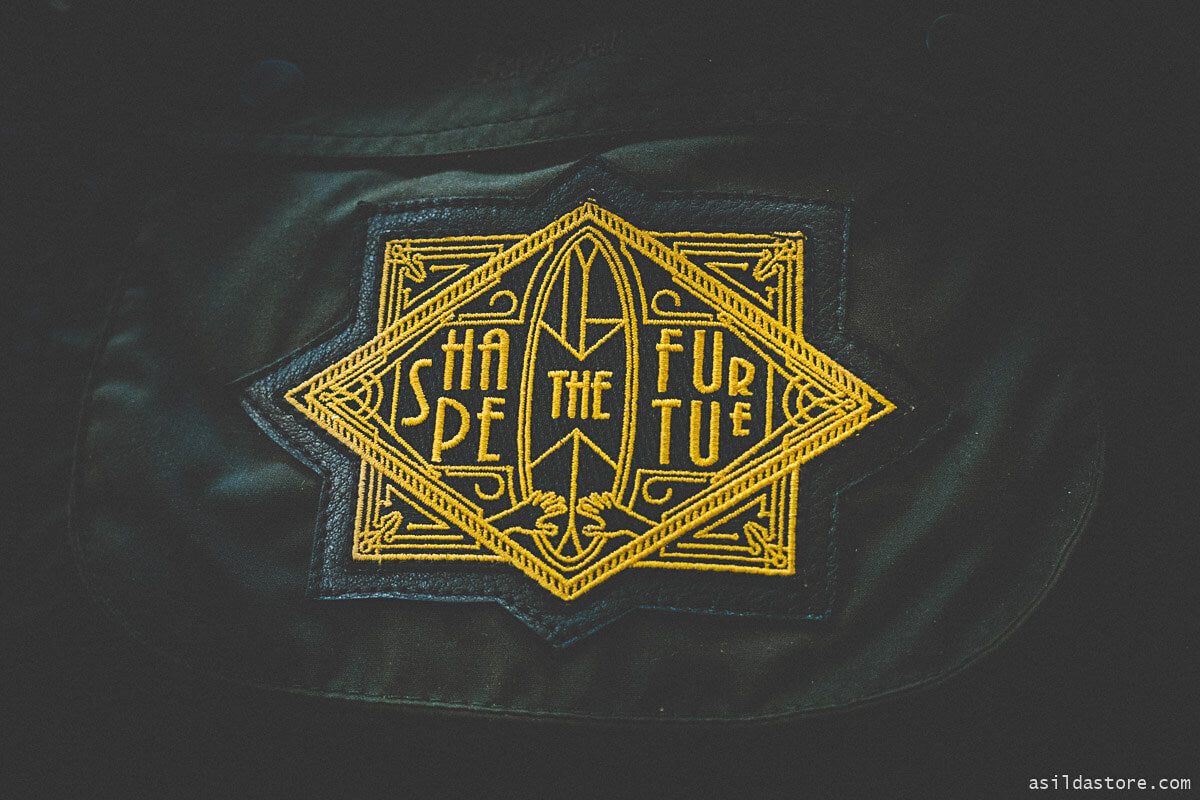
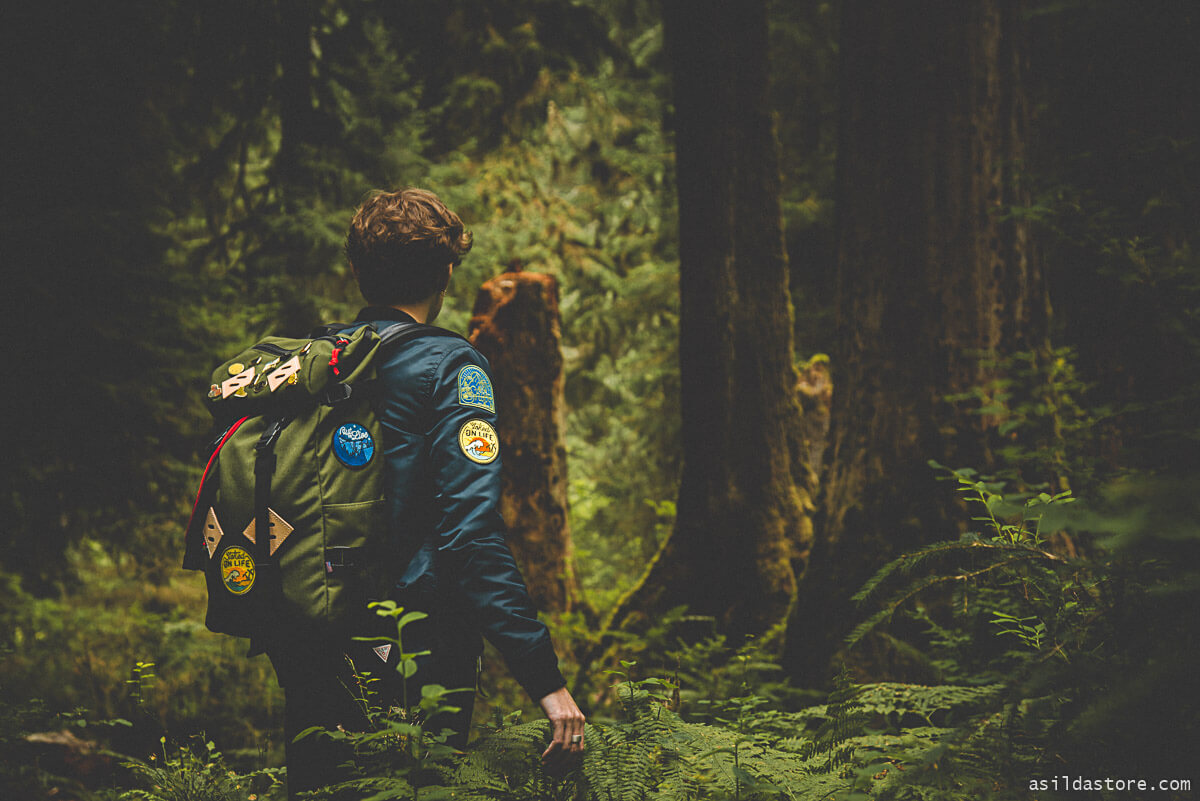
So, the creative solution was to use a piece of black leather and make it cover the holes left in the canvas. In the end, the result was pretty sweet. I had a trip to Olympic National Park coming up, and we shot all of the jackets and bags there.
Take a look.


I've seen a lot of people who do some very creative stuff with the placement, stitching, thread colors, and just any wild idea coming to life, so there is no single perfect way you must stick to when putting patches on your apparel and everyday carry.
Iron on patches are a bit stiffer than patches with no backing, so you can manipulate them however you want, and they'll keep their shape for many years to come.
If you have any questions about any steps of the process, please leave a comment below. Would be happy to answer anything.
If you want to showcase how you placed your patch, please send me a message to hello@asildastore.com and I will add a gallery in the end of this article with the best examples of applying iron on and sewing on patches.
Special thank you to:
www.life.film - video content
www.sergeygreen.com - editorial and lifestyle photography
www.asildaphotography.com - video edit, coloring, and voice over
www.10westleatherworks.com - ironing and sewing patches on
Also in Asilda Blog

Why I started Vlogging - My 3 Reasons
The first month of vlogging is done and now I get asked more and more about why I started all this, and especially right now. So here are my three reasons.
Read More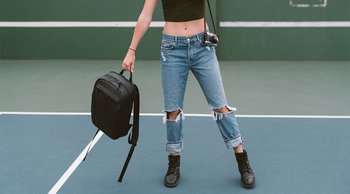
Cecilia Humboldt Camera Backpack Review
Join me in reviewing this Cecilia Humboldt 14L in Black Leather Camera Backpack I got to test out. The leather is buttery smooth and the bag is very enjoyable to use.
Read More
Neon Signs: A Symbol of America
When you think Americana, neon signs are always a big part of the visual. In this article, you'll find out about the history of neon signs...
Read More